Cardinal name = safe compass sideThe name gives the safe compass side: north's safe quadrant is between north-west and north-east of the mark. Use the bands if the cones are missing or hard to see.
North: cones up, black above yellow; continuous quick white flashes.
East: cone points apart, black-yellow-black; three quick white flashes.
South: cones down, yellow above black; six quick white flashes plus a long flash.
West: cone tips together, yellow-black-yellow; nine quick white flashes. All four may use very quick rather than quick flashes.
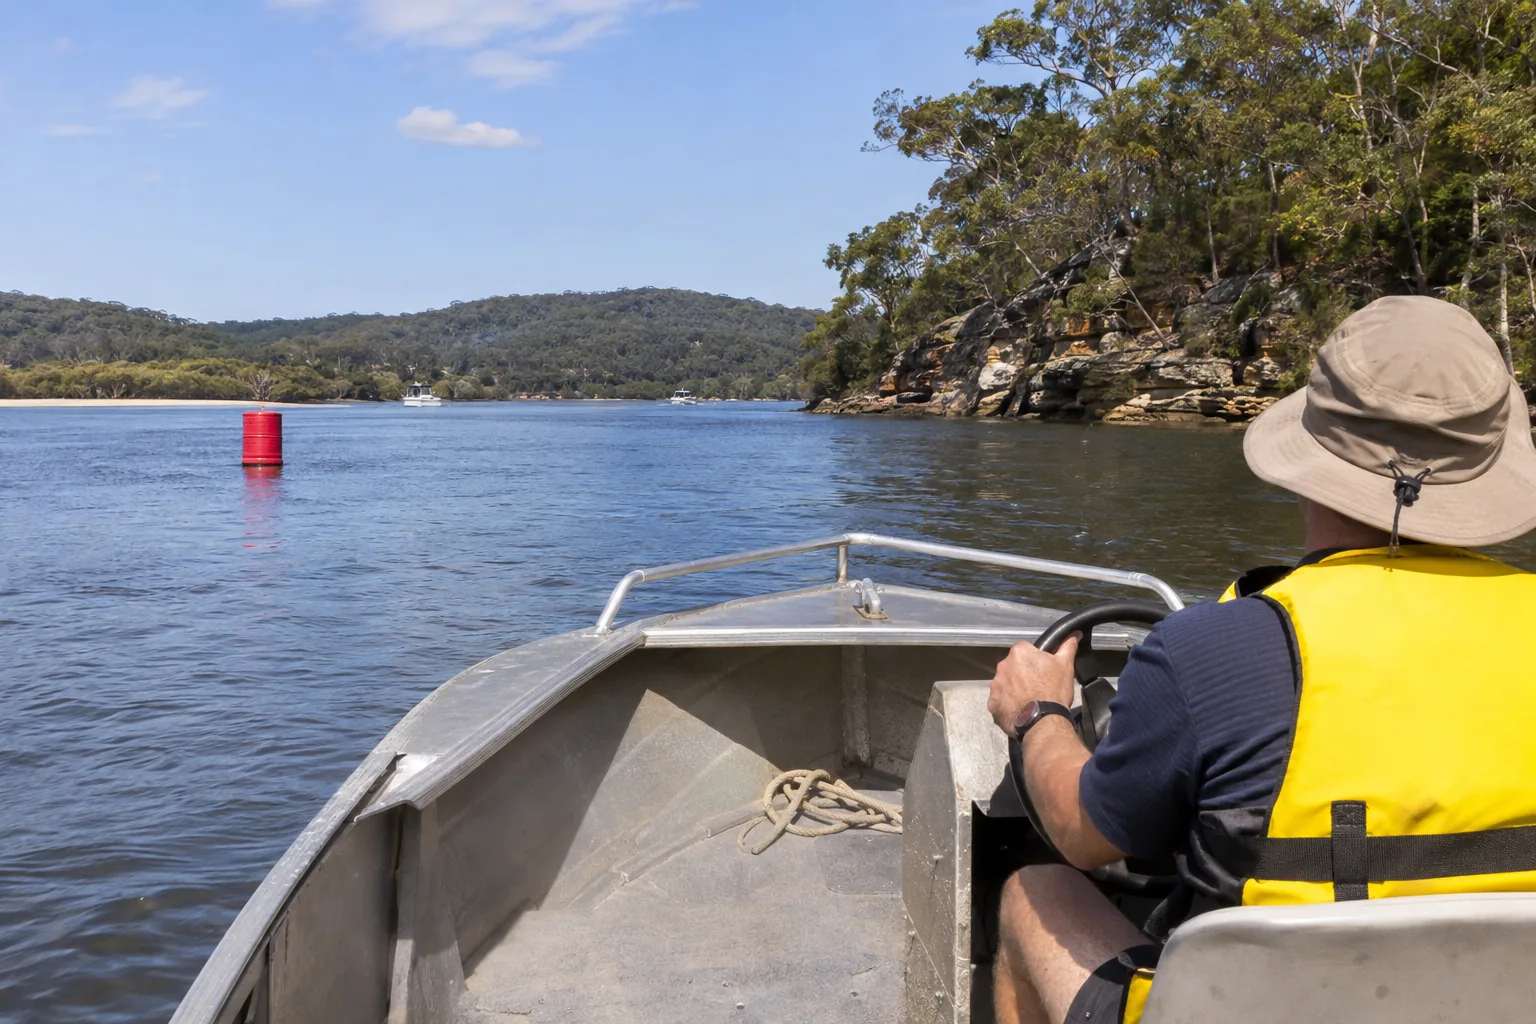
You turn upstream from the sea into a marked NSW channel. How should you pass a nearby red-and-green lateral pair?
More on this
Full explanation and lessons
Topic 1 of 6
Lateral marks: first work out which way you are going
Lateral marks show the sides of a channel.
Coming in from sea or travelling upstream, keep red to port (left) and green to starboard (right). Going downstream towards the sea, reverse those sides. Check the charted direction of buoyage rather than guessing from the tide. Boating Handbook, pp. 109–110.
A port mark has a red can-shaped buoy or topmark. A starboard mark has a green cone-shaped buoy or topmark. If lit, their flashing lights match their colours. When the marks form a pair, travel between them. Use marks together with your maps and charts; one buoy cannot tell you everything about the water ahead.
The NSW directions above match the IALA region A arrangement. For NSW study, follow those local directions and check the current TfNSW page before using unfamiliar marks; ‘red right returning’ would put you on the wrong side here.
Upstream, away from sea: red on your left, green on your right.
Downstream, towards sea: red on your right, green on your left.
The direction you are travelling matters, even when there is only one lateral mark.
Topic 2 of 6
Cardinal marks: pass on the side in the name
A cardinal mark tells you the safe side of a hazard.
Pass north of a north cardinal, east of an east cardinal, south of a south cardinal and west of a west cardinal. These are compass directions, not the left and right sides of your boat. For a north cardinal, the handbook specifies the safe quadrant between north-west and north-east of the mark; do not treat the whole northern half of the waterway as guaranteed safe. Read the black and yellow bands as well as the two black cone topmarks. The bands help identify the mark even if its cones are missing or hard to see. Boating Handbook, pp. 111–112.
When lit, cardinal marks show a quick or very quick flashing white light. Think of a clock face: east is 3, south is 6 plus a long flash, west is 9. North flashes continuously. The extra long flash is part of the south signal; do not leave it out when identifying the mark.
North: both cones point up; black above yellow; continuous quick or very quick white flashes.
East: cones point away from each other, bases together; black-yellow-black; groups of 3 quick or very quick white flashes.
South: both cones point down; yellow above black; groups of 6 quick or very quick white flashes followed by a long flash.
West: cones point towards each other, tips together; yellow-black-yellow; groups of 9 quick or very quick white flashes.
Topic 3 of 6
Other marks: danger, safe water and special features
An isolated danger mark is black with a red band in the middle and two round black topmarks.
If lit, it flashes white in pairs. It marks a specific danger, such as a wreck, with generally safe water around it. You can pass on either side, but not too close. Check the chart to understand the danger rather than treating the buoy as the full extent of it. Boating Handbook, p. 113.
A safe water mark has red and white vertical stripes and may have a round red topmark. If lit, it shows a white flashing light. It indicates navigable water all around. There is an important NSW instruction: when it marks the centre line or turning point of a shipping channel, keep it on your port side as you pass. Boating Handbook, p. 114.
Special marks are yellow and may carry a yellow X topmark. If lit, they show a yellow light, which may flash in any pattern. They identify features such as tide poles, spoil grounds or underwater pipes. Check your chart for the feature. A yellow special buoy can also serve as a lateral mark: a can shape is treated as a port mark and a cone shape as a starboard mark. Do not assume every yellow mark can be passed on any side. Aquamark minibuoys are small red, yellow or green buoys used instead of conventional marks in some areas. They may carry messages you must follow. Boating Handbook, p. 114.
Two black balls and paired white flashes: isolated danger, keep a safe distance.
Red and white vertical stripes: safe water, with the shipping-channel passing instruction above.
Yellow: a special feature or area; shape and any instructions still matter.
Topic 4 of 6
Leads and directional lights: find the safe line
Lead marks guide you through a waterway or into a port.
There are two marks: the rear one is higher than the front one. Line them up, one above the other, then travel directly towards or away from that line. They are commonly used at coastal bars and shipping ports. Check the chart before using leads in unfamiliar water. Boating Handbook, pp. 112–113.
Sector lights show different colours in different sectors. A port-entrance directional light has a narrow red, white and green sector. When approaching that directional light, red means you are too far left, green means too far right, and white means you are in safe water and can travel directly towards it. Check the chart to identify the light and its sectors. This is a directional light, not a pair of lateral buoys. Boating Handbook, p. 113.
Leads: keep the front and higher rear marks lined up vertically.
Approaching a directional light: red, too far left; green, too far right; white, safe sector.
Topic 5 of 6
Bridges: check the gap and respect the aids
Follow signs showing maximum vessel height under an overhead crossing.
Know your boat's full height, including its mast, fittings and fishing poles. Bridge heights on maps are measured at the mean high-water mark. Actual clearance changes with water level: higher tides and floods can reduce it. A lightly loaded boat may need more height than a fully loaded one. Do not rely on a remembered gap. Boating Handbook, p. 81.
A blocked bridge span, blocked channel or closed port can be signalled by three shapes in a vertical line: ball, cone, ball. At night the lights are red, green, red from top to bottom. Avoid travelling in that part of the channel. A green light within that three-light signal does not mean you can go through. Boating Handbook, p. 115.
It is illegal to secure your vessel to a bridge or any navigation aid without lawful authority. A navigation mark is there to guide vessels, not to provide a handy mooring. Boating Handbook, p. 99.
Read the clearance signs and allow for the actual water level and your boat's full height.
Ball-cone-ball by day or red-green-red at night: avoid that part of the channel.
Do not tie to a bridge or navigation aid without lawful authority.
Topic 6 of 6
Practise and go further
The best places to practise this subject. When you finish, one tap brings you back to the course.