
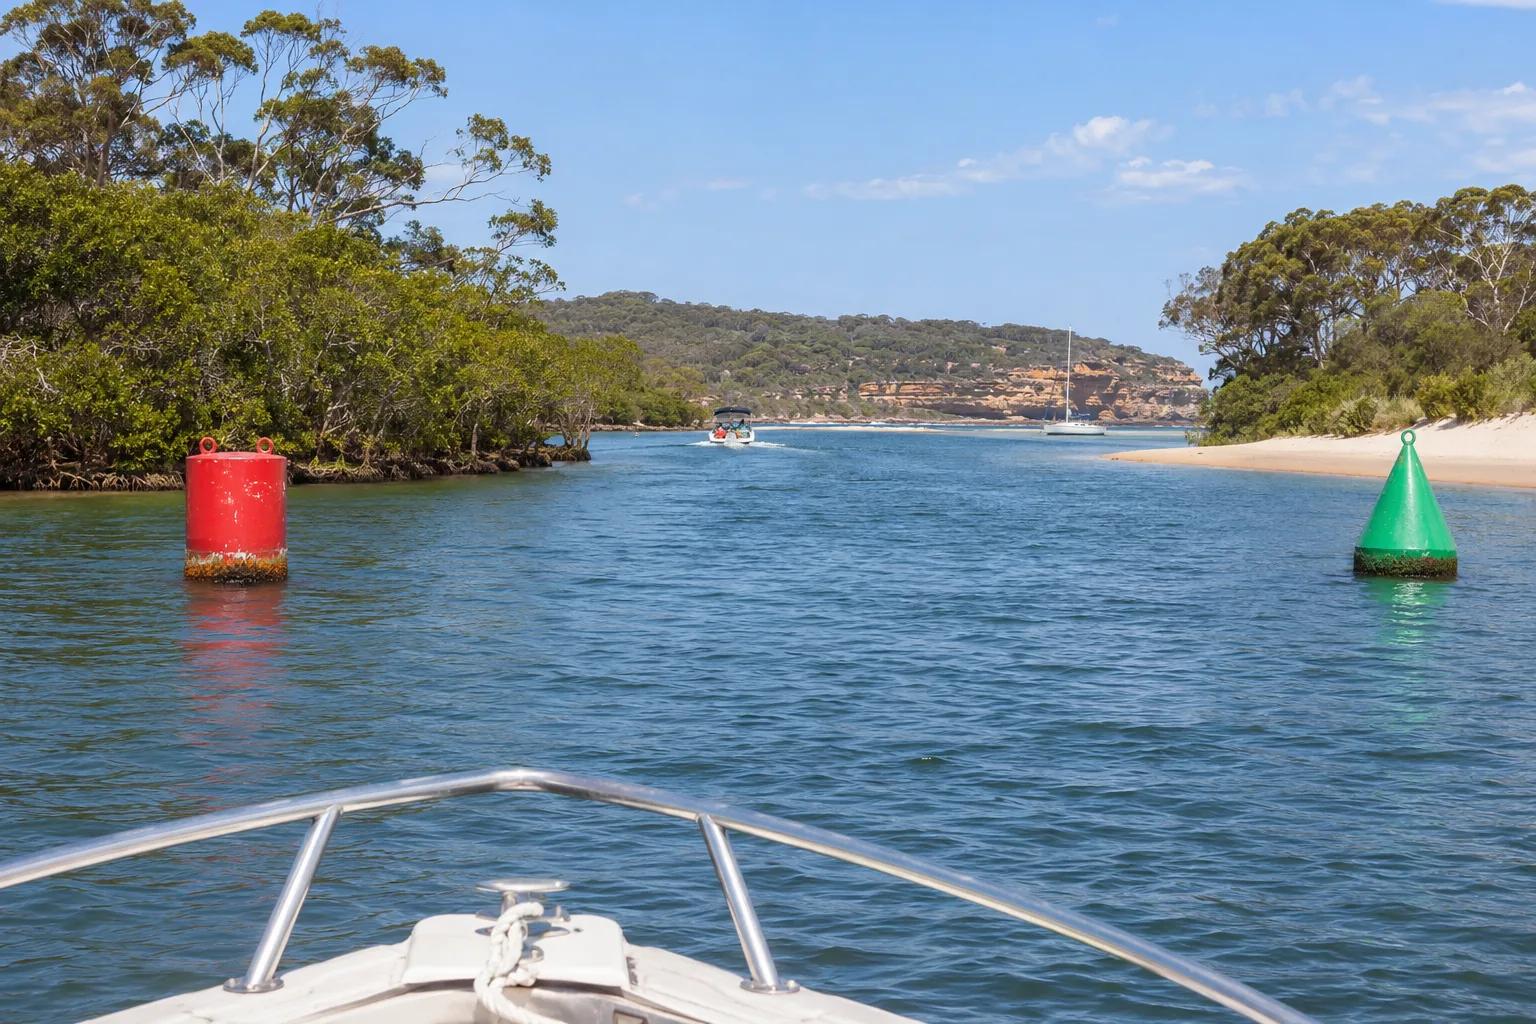
An upstream trip on the Hawkesbury River
You are planning a daylight trip upstream on the Hawkesbury. On this practice route, your chart shows paired lateral marks, a west cardinal by a shoal and a bridge farther on. Near the bridge you see ball, cone, ball above one span. A crew member suggests tying to a navigation beacon while you work out what to do.
Before you read the solution: what would you do?
True or false?
Decide each statement before you see the answer.
Six quick white flashes are the whole south-cardinal signal.
All yellow marks can be passed on either side.
The bridge fitted this morning, and I can tie to a nearby beacon if I need to wait.
Keep the rear, higher mark directly above the front mark to follow the lead line.
A north cardinal tells me the danger is north, so I go south.
Coming from sea or going upstream: red to port, green to starboard.
A special mark identifies a feature or area; check its shape and the chart.
I keep every red mark on my left, even heading out to sea.
Safe water all around means I can always pass a red-and-white mark either way.
Two black balls mark a danger; red-and-white vertical stripes mark navigable water around the mark.
Check the clearance signs, your full height and any blocked-span signal.
The name gives the safe compass side: north's safe quadrant is between north-west and north-east of the mark. Use the bands if the cones are missing or hard to see.